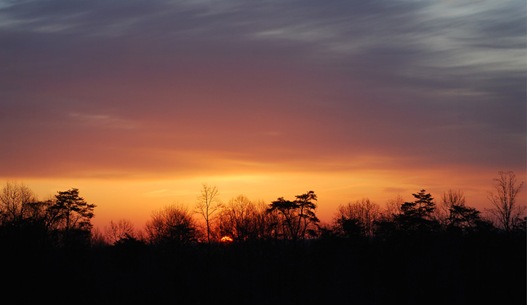
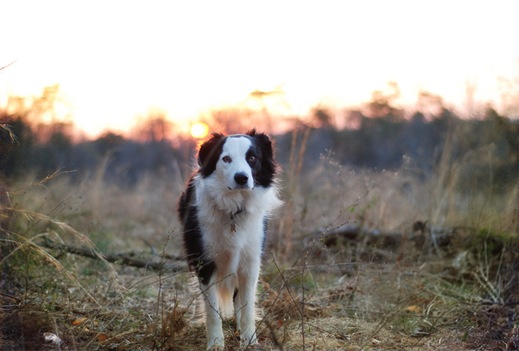
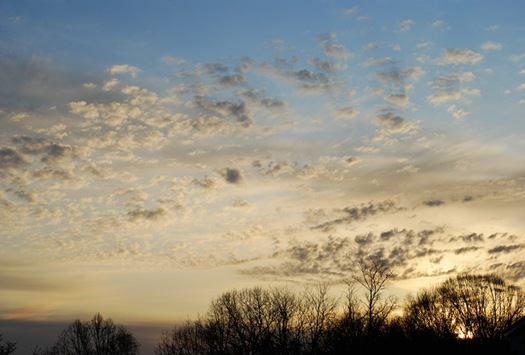
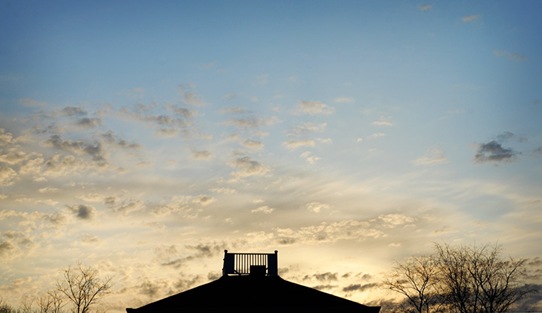
I want to begin by saying that I am not an expert in Photoshop. Far from it, if you want to know the truth. However, after viewing several different tutorials I found online as well as the advice received from other bloggers, I began to understand how to apply a texture to a photograph.
And I fell in love.
And got a little addicted, if you want to know the truth.
I’ve created this tutorial because of a blog I visited today. The author was lamenting the fact that she couldn’t make the texture the right size and was just having a lot of problems understanding it all. I remembered when I was starting out and all of the hours I’d spend trying to make sense of the whole process, only to feel defeated much of the time.
And then, one day it just clicked.
If you’re not into this sort of thing, please feel free to run away now. I’ll see you tomorrow and I promise I’ll understand your desire to flee. But if you are into this sort of thing, please bear with me. This is the first tutorial I’ve ever done.
The finished image is below. So let’s begin.

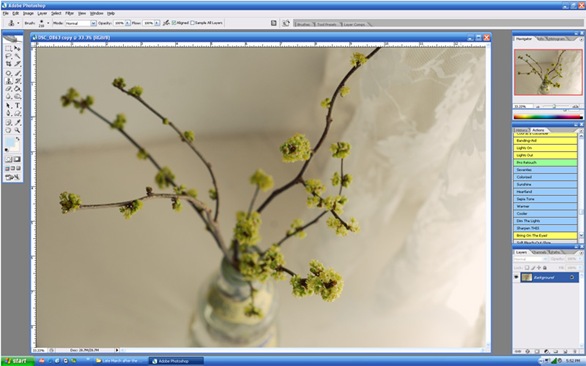
1. Start by opening an image in Photoshop. I use an older version: CS2. In the picture below, I’ve opened the image I want to work on.

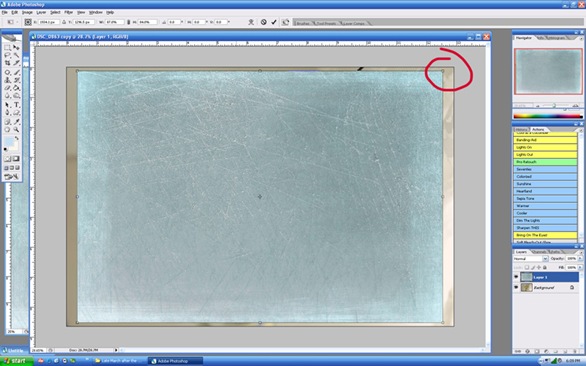
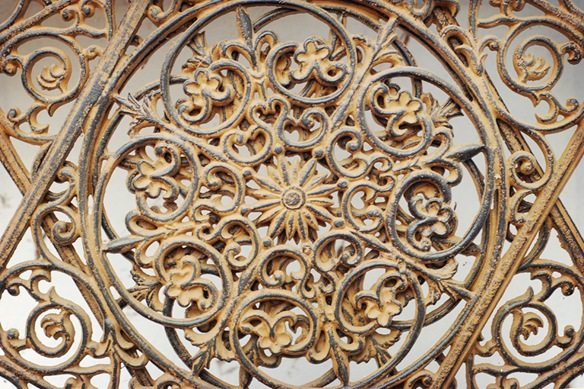
2. Open a texture that you’d like to use. On my PC, I hit Control O (Open) and then choose a file. I’ve chosen Florabella’s Platinum (cool). It’s a pretty blue.
3. In your Tools Palette, choose the Move tool. It looks like a triangle on its side. Now, using your move tool, drag the texture directly onto the top of the photograph below.

4. Grab onto that little square in the corner there (I’ve circled it below) and drag the texture to fit exactly over your photograph. You’ll have to do this with the other corner(s) as well.
5. Hit the Enter key.

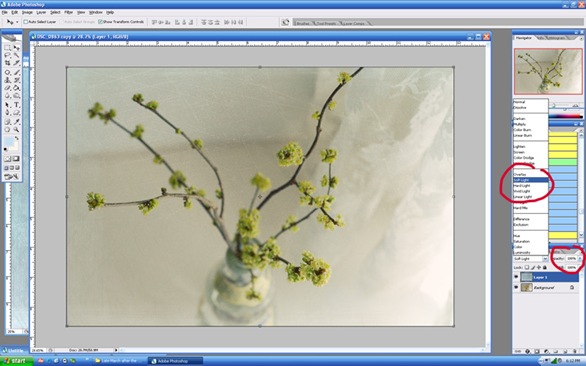
5. You now have a Background (your original photograph) layer and a texture layer. See where I’ve circled that? All you can see at this point, however, is the texture. It's because it's set to normal blending layer at 100% opacity. So let's fool around with that.

6. Over there on the bottom right is your layers palette. If you click on to where it says Normal, (just above where I’ve circled) you will get an option list for the different blending modes. I’ve chosen soft light as the blending mode here. I’m also going to slide the opacity bar to the left until I like what I see. The opacity bar is to the right of the blending mode. As you slide the opacity bar, watch how the texture changes.
Experiment with the different blending modes and opacities. I find myself mostly using overlay, soft light and hard light. But I’ve gotten some dramatic photos using linear burn and multiply. Have fun with it.
And remember, subtle changes.

At this point, you can flatten the layers and call it a day, but I’ll show you one more thing.
7. Brushing off some of the texture is a tool I often use. First, you need to create a layer mask. With your texture layer highlighted (where the arrow is), click on the little square with the circle inside. It’s at the bottom of the screen (I have it circled). This will give you a layer mask.

8. In your tools palette, choose the brush tool. You want a nice, soft brush here. I went with No. 9 with a hardness of 0% and a brush big enough to cover some of the flowers. I also set the opacity and the flow (I have it circled at the top) to around 35%. Make sure your foreground color is set to black. See that black square there on the left?
9. Now gently brush off some of the texture. In your layer mask, you will begin to see areas of gray and even black. This shows you where your texture has been brushed off.

10. All done. Flatten the image by going into layer (at the top of the screen) and then flatten. Save as you normally would.

And that’s that. I hope this has helped those who needed it. And if any photographers and Photoshop users out there know of a different way, please feel free to let me know. I still don’t know if what I’m doing is right but the cool thing about Photoshop is that there’s always several different ways to get the job done. And this works for me.
Love,

PS ~ On my sidebar, directly beneath my photo gear is a list of textures I love. If you’re just starting out, you may want to check out the free ones at Shadowhouse Creations. Nine Acres Designs also has a couple. les brumes and Alphabet Soup Studios, both on Flickr, are also cool. Check the copyright rules. Some of those who offer free textures have specific instructions that include a link back, etc. while others just require a simple thank you.


